Great cinematography starts with understanding light. Whether you're filming a commercial in downtown Orlando or shooting an indie feature in your backyard studio, the right lighting setup can transform ordinary footage into something extraordinary. But with countless lighting options available, how do you choose the equipment and configuration that best serves your creative vision?
The difference between amateur and professional-looking footage often comes down to lighting choices. Poor lighting can make even the most expensive camera produce flat, unappealing images, while thoughtful lighting design can make budget equipment shine. Understanding the fundamentals of lighting setup will help you make informed decisions that elevate your work, regardless of your budget or experience level.
This guide will walk you through the essential considerations for selecting lighting equipment and designing setups that support your storytelling goals. From understanding different light types to planning your electrical requirements, you'll learn how to approach lighting design with confidence and creativity.
Understanding Your Project's Lighting Needs
Before selecting any equipment, evaluate what your specific project demands. A documentary interview requires different lighting than a music video or product commercial. Consider your story's mood, the locations you'll be shooting in, and the visual style you want to achieve.
Start by identifying your key scenes and their emotional requirements. Dramatic scenes might call for high contrast lighting with deep shadows, while corporate interviews typically benefit from even, flattering illumination. Horror projects often use harsh, directional lighting to create unsettling shadows, whereas romantic comedies lean toward soft, warm lighting that makes subjects look their best.
Your shooting locations also heavily influence lighting choices. Indoor locations offer more control but may require additional power and rigging options. Outdoor shoots depend on natural light conditions and weather, requiring flexible setups that can adapt quickly. Mixed indoor-outdoor shooting days demand portable solutions that work effectively in both environments.
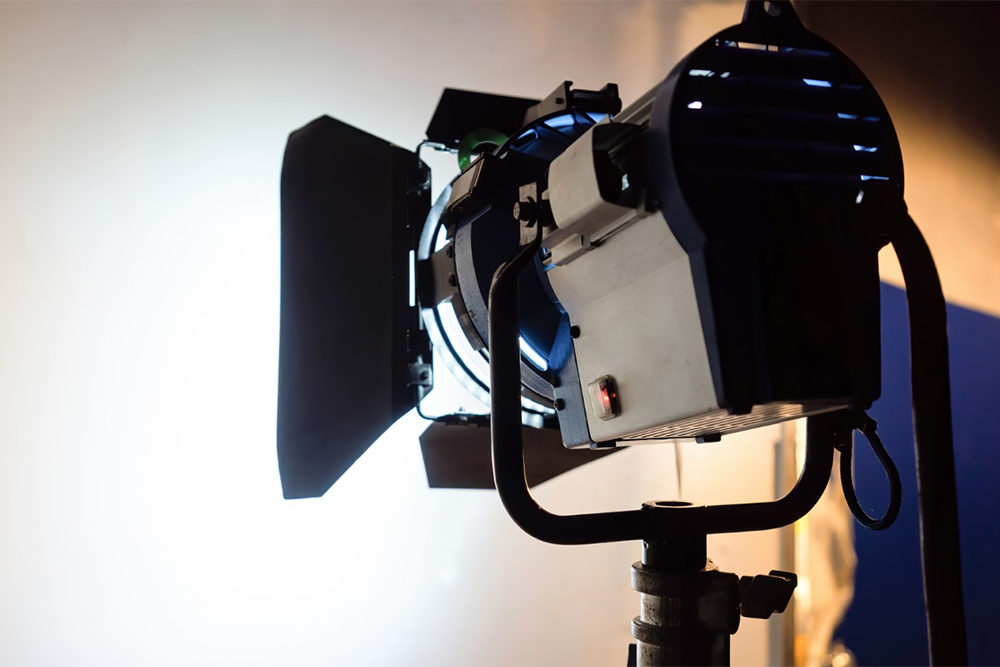
Essential Light Types and Their Applications
Understanding the characteristics of different light sources helps you make informed equipment choices. Each type offers distinct advantages depending on your needs and budget.
LED lights have become increasingly popular for good reason. They run cool, consume less power, and offer excellent color accuracy. Many LED panels provide adjustable color temperature, allowing you to match existing light sources or create specific moods. Their compact size makes them ideal for tight spaces, and their low power draw means you can run multiple units without overloading circuits.
Traditional tungsten lights produce warm, consistent color temperature that many cinematographers prefer for their natural skin tone rendition. However, they generate significant heat and consume more power than LEDs. Tungsten lights work exceptionally well for controlled studio environments where their warmth and reliable color characteristics outweigh their power requirements.
HMI lights offer daylight-balanced illumination with exceptional brightness and efficiency. These lights excel for outdoor shooting or large interior spaces where you need to overpower existing light sources. Their high output makes them perfect for creating dramatic effects or illuminating large areas evenly.
Fluorescent lighting provides soft, even illumination that works beautifully for interviews and documentary work. Modern fluorescent fixtures offer improved color accuracy and dimming capabilities while maintaining their reputation for flattering, diffused light quality.
Building Your Basic Three-Point Setup
The classic three-point lighting setup forms the foundation of professional lighting design. This versatile configuration works for interviews, portraits, and narrative scenes while providing a solid starting point for more complex setups.
Your key light serves as the primary illumination source, defining the overall look and feel of your shot. Position this light at roughly a 45-degree angle from your subject, slightly elevated to create natural-looking shadows. The key light should be your brightest source, establishing the scene's overall exposure.
The fill light softens shadows created by your key light, controlling contrast levels throughout the frame. Place the fill light opposite your key light, typically at a lower intensity to maintain dimensional lighting while ensuring shadow areas retain detail. The ratio between key and fill lights determines your image's overall contrast and mood.
Your back light, sometimes called a rim light or hair light, separates subjects from their background by creating a subtle outline of illumination. Position this light behind and slightly above your subject, being careful to keep it out of your camera's direct view. Proper back lighting adds depth and polish to your images.
Power and Electrical Considerations
Electrical planning prevents on-set disasters and ensures your lighting setup operates reliably throughout your shoot. Understanding power requirements helps you choose appropriate equipment and avoid costly delays.
Calculate the total wattage of your lighting package before arriving on location. Add up all your lights, plus any additional equipment like monitors, cameras, and charging stations. This total determines how many electrical circuits you'll need and whether locations can support your power requirements.
Most residential and small commercial locations provide 15-20 amp circuits, limiting you to roughly 1,500-2,000 watts per outlet. Professional lighting packages often require multiple circuits or higher amperage connections. Identify available power sources during location scouting to avoid surprises on shooting day.
Consider investing in a power distribution system for larger setups. These units provide multiple outlets from a single source while offering protection against electrical issues. Power distribution becomes essential when running multiple high-wattage lights or working in locations with limited electrical access.
Modifying and Controlling Light
Raw lights rarely provide the exact quality you need straight out of the fixture. Light modification tools help you shape, soften, and direct illumination to achieve your creative vision.
Softboxes and umbrellas diffuse harsh light sources, creating the flattering, even illumination essential for interviews and beauty work. Larger diffusion sources produce softer shadows and more gradual light falloff, while smaller modifiers maintain more directional characteristics.
Flags and cutters allow precise light control, helping you block illumination from specific areas of your frame. Use flags to create shadow patterns, prevent lens flare, or keep light off your background. Cutters work similarly but offer more precise edge control for architectural or product photography.
Gels modify color temperature and create mood effects. Color correction gels help match different light sources, while colored gels can establish specific atmospheres or support your story's emotional content. Stock a variety of common gels including daylight correction, tungsten conversion, and several mood colors.
Location-Specific Lighting Strategies
Different shooting environments present unique challenges that require adapted lighting approaches. Developing location-specific strategies helps you work efficiently while maintaining consistent quality.
Small interior spaces limit equipment placement options while often requiring careful power management. Focus on efficient lights that provide maximum output with minimal setup requirements. Consider battery-powered options that eliminate extension cord runs and reduce setup complexity.
Large interior spaces demand more powerful lights to achieve proper exposure and maintain lighting consistency across wide shots. Plan for longer setup times and ensure adequate power distribution throughout the space. These environments often benefit from a combination of key lights for subjects and ambient lighting to establish overall space illumination.
Outdoor locations require flexible setups that adapt to changing natural light conditions. Bring diffusion materials to soften harsh sunlight and reflectors to bounce natural light into shadow areas. Weather protection for equipment becomes essential, along with backup power solutions for locations without electrical access.
Working with Professional Lighting Services
Complex productions often benefit from professional lighting rental and crew services. Experienced grip and electric teams bring expertise and specialized equipment that can elevate your project's production value.
Professional services offer access to high-end lighting equipment that might be cost-prohibitive to purchase. They also provide the expertise to implement complex setups efficiently, potentially saving significant time during production. Experienced crews understand power requirements, safety protocols, and problem-solving techniques that prevent costly delays.
When budgeting for professional lighting services, consider the total cost of equipment rental, crew wages, transportation, and setup time. Compare this against the time and equipment costs of handling lighting in-house. Many productions find that professional services actually reduce overall costs while improving final results.
Making Your Vision Reality
Choosing the right lighting setup requires balancing creative vision with practical constraints. Start with your story's emotional requirements, then work backward to identify the equipment and techniques that support those goals. Remember that expensive equipment cannot substitute for understanding light's fundamental properties and how to control them effectively.
Successful lighting design comes from experimentation and experience. Start with basic setups and gradually add complexity as your understanding grows. Every project teaches valuable lessons that inform future lighting decisions.
If you're looking for grip lighting in Orlando, FL, contact Tiki Grip & Electric today for more information about professional lighting solutions that can bring your creative vision to life.